
ZennoDroid - Automating work with android virtual machines.
ZennoDroid is a software application for automating work with android virtual machines. It has been developed basing on our well-know and succesfull on the market software - ZennoPoster. ZennoDroid includes almost all features which your usually use in ZennoPoster.
The program allows to work with two types of virtual machines:
-
Android Virtual Device (AVD, included into package).
-
Bluestacks (BS, installed separately).
Both of them have some advantages and disadvatages:
AVD virtual machine is almost full copy of real () Android deivices. It allows to emulate ARM architecture. But this, unfortunately, reduces performance efficiency.
Bluestacks is capable to work at higher efficiency rate. However, it has threads limitation - currently, only one copy can be running.
Configuring AVD virtual machine.
If you plan to work with AVD virtual machine, you should configure it before using. For those, who has computer with Intel processor, we recommend to install Intel® Hardware Accelerated Execution Manager. It will provide maximum hardware acceleration for AVD virtual machine. During installation you will be asked to select memory limit for virtualization. This should be selected taking into account your hardware configuration and number of threads which you are going to use.
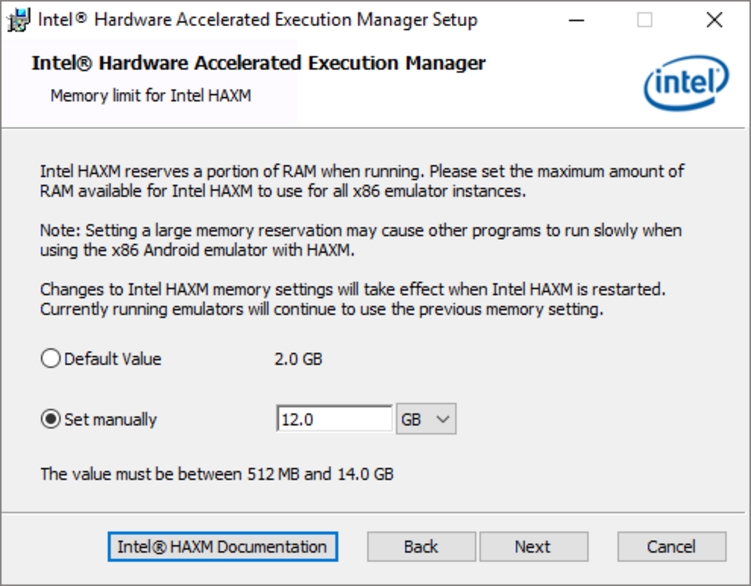
(one virtual machine requires from 1,5 to 2 GB RAM). Then, if you set 12 GB as on the screeshot above, you will be able to run 4-5 virtual machines.
AVD settings:
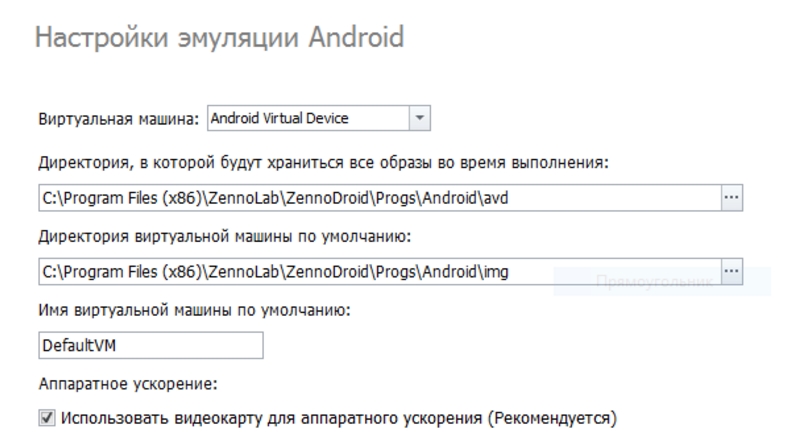
«Directory for storing all images during execution» - path to the directory, where virtual machines will be created.
«Default virtual machine directory» - the directory where images for creating new virtual machines are stored.
«Default virtual machine name» - default name for virtual machine, which will be used for running virtual machine, if name was not specified.
«Use GPU for hardware acceleration» - virtual machine will use hardware acceleration for graphic output. (may not work properly on some computers).
Configuring Bluestacks virtual machine.
To work with Bluestacks virtual machine, you should download it from bluestacks.com website and install on your computer.
Bluestacks configuration settings look like this:
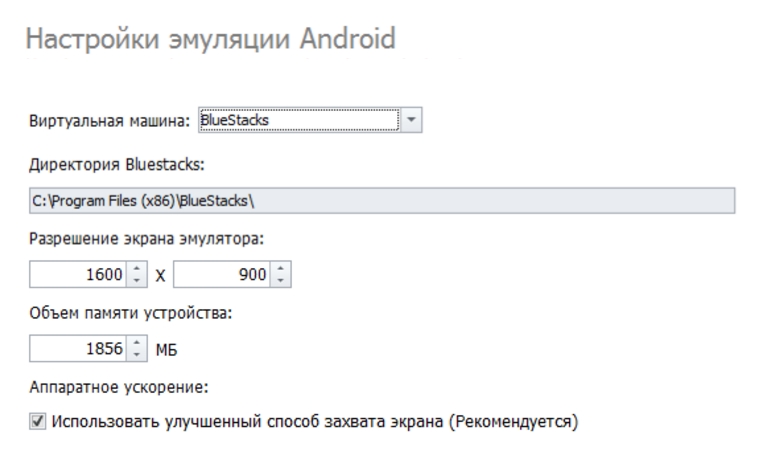
Bluestacks directory - the directory where the program is installed (detected automacally).
Emulator screen resolution - physical screen size of virtual machine.
Device memory - amount of RAM dedicated for virtual machine.
Use improved screen capture method - capture screen mode of virtual machine.
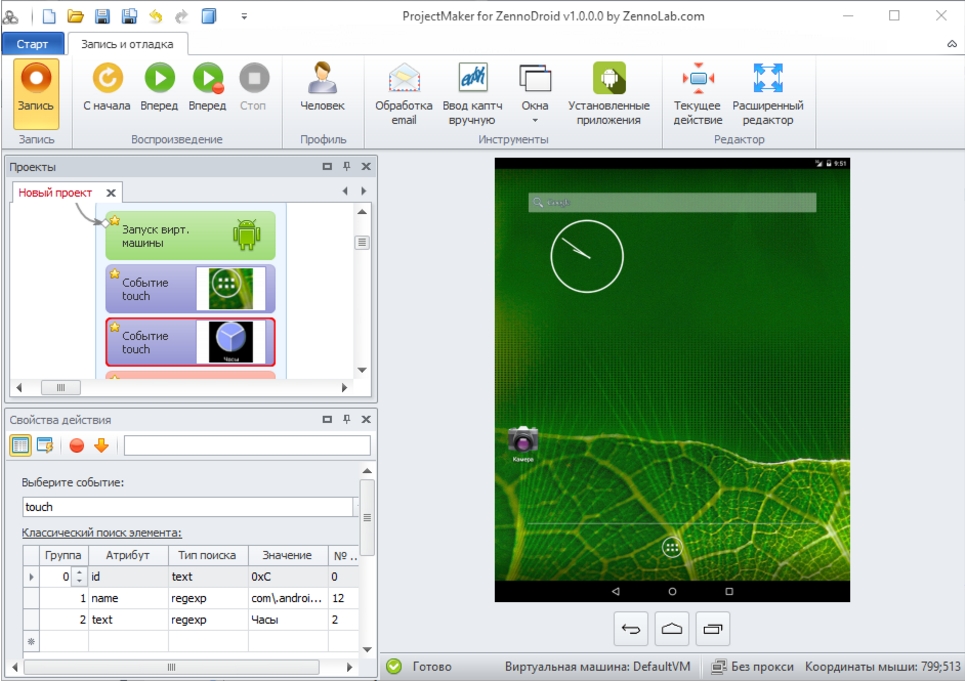
Getting Started.
Projects for ZennoDroid are created and executed in the same way as for ZennoPoster. The only difference is that operational instance is not available at start (you should run virtual machine at first), and, instance is single and common for all opened projects.
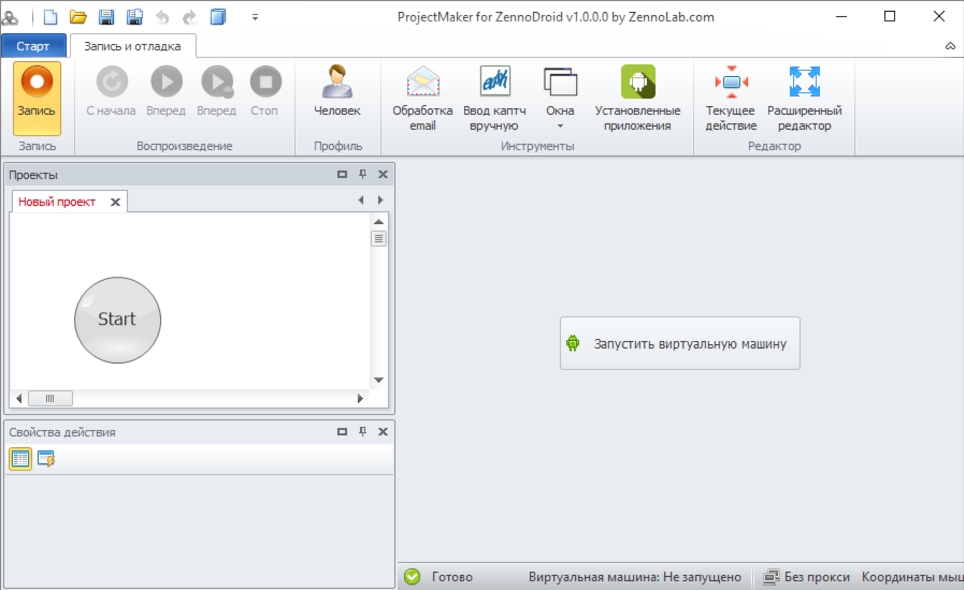
After starting virutal machine you should wait before it will be fully loaded.

Then you can start recording your project as usually in ZennoPoster.
Operations with Android virtual machine.
1) Run
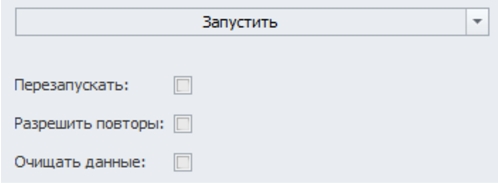
This operation allows to run current virtual machine (see «Create» or «Load» operation). It has the following parameters (for AVD only):
-
Restart - if current virtual machine is already running, it will be restarted.
-
Allow repeats - virtual machine will be running in multi-threading mode. Every new copy will use temporary files and won't save changes.
-
Clear data - every time virtual machine will be run as at first time, original image files will be loaded from the directory selected in settings.
2) Modify (AVD)

Using this operation you can change several parameters of virtual machine (applied after restart):
-
IMEI - changing virtual machine IMEI to required.
-
Phone - changing virtual machine phone number to required.
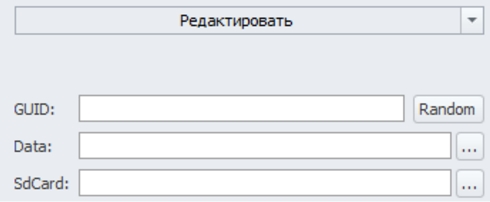
3) Modify (BS)
-
GUID - device ID. IMEI and phone number will be generated basing on this.
-
Data - select the directory, where data from device will be stored.
-
SDCard - select the directory, where data from sd-card will be stored
4) Set proxy
Allows to sets required proxy via Proxifier.
5) Create
This operation creates required virtual machine in specified directory and selects it for working in current session:
-
Creation directory - directory for storing virtual machine.
-
Name - name by which virtual machine will be identificated.
-
Architecture - type of virtual machine architecture - x86 or Arm.
-
IMEI - IMEI of virtual machine.
-
Phone - phone number of virtual machine.
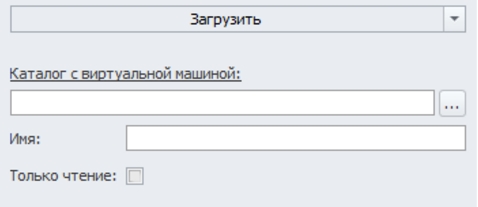
6) Load
Using this operation you can set virtual machine for current session:
-
Virtual machine directory - path to folder with images and AVD configs.
-
Name - name of required AVD, as one directory can contain several virtual machines.
-
Read only - enables read only mode for AVD work. Data won't be changed in original virtual machine.
7) Save as...
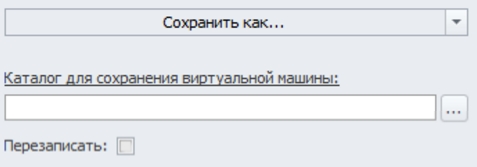
This operation allows to save current virtual machine in new folder.
Working with Android.
ZennoDroid allows to perform the following actions on Android operating system.
Install applications

You can install applications (apk) on your virtual machine.
Remove applications
This option allows to remove applications (apk) by name from your virtual machine. You can get application names using Installed applications button.
Emulate toucn and swipe
This operation allows to emulate touch or swipe operation on your virtual device. It works the same way as mouse emulation in ZennoPoster.
Emulate Android keyboard
This action emulates symbols inseration similarly as keyboard emulation action do in ZennoPoster. Noe, that Cyrillix symbols are entered slower than latin symbols because of some transmitting issues.
Set Geo-location
Using this action you can set coordinates for gps-sensor (not available for BS).
Project patterns.
There are two common ways to create projects in ZennoDoid. They are usually used working with AVD virtual machine.
1) Run virtual machine for executing actions, which won't affect later work (without saving).
In other words, you should install and register account which won't be used in further sessions. For this you can use default virtual machine and enable “Clear data” option in “Run” operation settings.
2) Create your own virtual machine and save current one.
For example, you have installed some application on default virtual machine, which you would like to use in further work. You don't want this will be deleted at next run by “Clear data” option. In this case, you should save virtual machine to another suitable directory.
Later you will be able to run saved machine using “Run” operation, selecting its name and path to it. All actions performed using this virtual machine will be saved in it, excepting the case when you marked “Read only” option.
Similarly, you can create new virtual machine with suitable name and location using “Create” operation.
When working with Bluestacks virtual machine, you will be able to perform the same manipulations using “Modify” operation and changing paths to directories in Data.sparsefs and SDCard.sparsefs parameters. (Note that directory name should end with “.sparsefs”). If these directories are empty, such operation will be equivalent to creating new virtual machine. If the directories are already used, data will be saved to them.
Executing projects in ZennoDroid.
ZennoDroid software represents the same functionality as ZennoPoster. After recording project in ProjectMaker for ZennoDroid, you should add it to main ZennoDroid application for executing.
Note that there are threads limitations for porjects working with Bluestacks virtual machine: Bluestacks does not allow to run more than one virtual machine at the same time.
